How to Dry a Cocoa Bean

Drying is a crucial balancing act: dry too slowly and your beans go mouldy; dry too fast and the beans taste bitter.
Print / PDFDrying is a crucial balancing act: dry too slowly and your beans go mouldy; dry too fast and the beans taste bitter.
Print / PDFWhat's the process?
You’d be forgiven for thinking that there can’t be much to say about the drying of cocoa beans. But you’d be wrong! It’s a crucial balancing act: dry too slowly and your beans go mouldy; dry too fast and the beans taste bitter.
The choices made during the drying stage have a big impact on the flavour of the beans. Do it right, and you open up a world of flavours. Do it wrong, and you could lose your whole yield.
It’s a simple process if you strip it barebones. You take the fermented mixture of beans and pulp, remove the pulp (most of it’s already evaporated during fermentation anyway), and dry the beans out.
Often this is done on the farms, where the farmers lay the beans out on a raised bed or on a covering on the ground and leave them to dry under the sun. There, the beans must be left to dry – the length of time depends on factors like the beans’ arrangement, the varietal, and the weather.
The farmers check regularly on the beans. To make sure that the beans are drying uniformly, they use a rake to turn the beans over and mix them together.
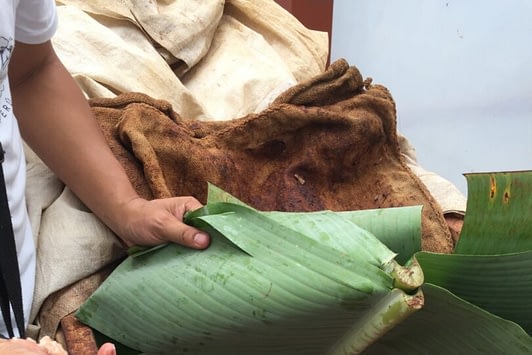
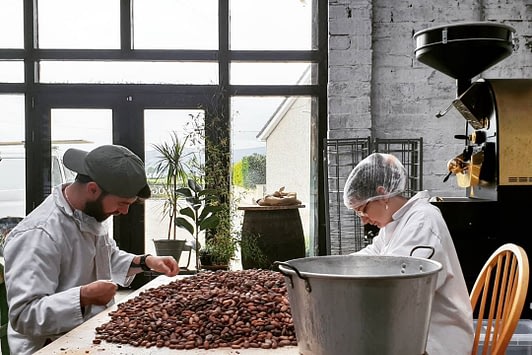
When they are fully dried, the beans are gathered and put into jute bags, ready for domestic or international exportation. Beans which are stuck together, are the wrong shape, or have not dried properly are thrown out.
One way to check if they are properly fermented and dried is the cacao cut test. You put the dried cocoa beans into a box with dimples, then push down a guillotine to cut them open.
The inside of the beans should be fragrant and have a reddish-purple colour, with cracks or fissures throughout the interior.
What can go wrong?
When you’re drying the beans out in the open air, there’s one obvious factor to consider: the weather.
Of course, rain will hinder the drying process. But alongside that, there’s also humidity and temperature. The length of time for drying cocoa beans depends so much on the farm’s location and climate.
A farmer rakes her cocoa beans as they dry on a raised bed in the sun.
In humid and tropical Vietnam, it can take up to 10 days to dry the beans fully. Meanwhile, in places like Peru, it takes between five and seven days.
There are also different methods of drying the beans out. The cheapest method is solar drying, as described above. In particularly wet areas, equipment like solar heaters, plastic sheets, and windows for continuous airflow can help massively.
You can also artificially dry the cocoa beans in specially designed ovens or on trays heated from below, which is especially useful in humid and rainy locations. But artificial drying can make the beans too dry, which changes the flavour of the beans.
If you dry the beans too slowly, you can ruin the whole batch by causing the beans to rot and grow mouldy rather than drying out. But drying the beans too quickly will make the beans taste acidic or bitter.
It’s a balancing act – just like fermentation – that depends as much on the geography of the farm as much as the techniques you use. But at the end of the day, it’s all about getting the best possible flavours out of the beans for the bars.
Does drying affect flavour?
Yes! As we mentioned earlier, beans dried too quickly will taste bitter. This is because there are still polyphenols on the beans’ surface, which contribute to astringency and bitterness.
But through drying, these polyphenols are oxidised and broken down. The moisture levels inside the beans drop from 45% to 7% – though the fermentation reactions will carry on while the beans are still wet, which further contributes to the development of flavour.
However, higher moisture levels in the cocoa beans mean higher levels of free fatty acids, which can lead to rancid notes in the flavours of the chocolate.
But volatile acetic acid also evaporates during the drying process, which means the beans – and the chocolate – will taste less acidic and more pleasant overall.
As you can see, drying is a balancing act! The length you choose to dry for will have a marked impact on the flavour of the bar, and sets the stage for the next step of roasting.
Try for yourself
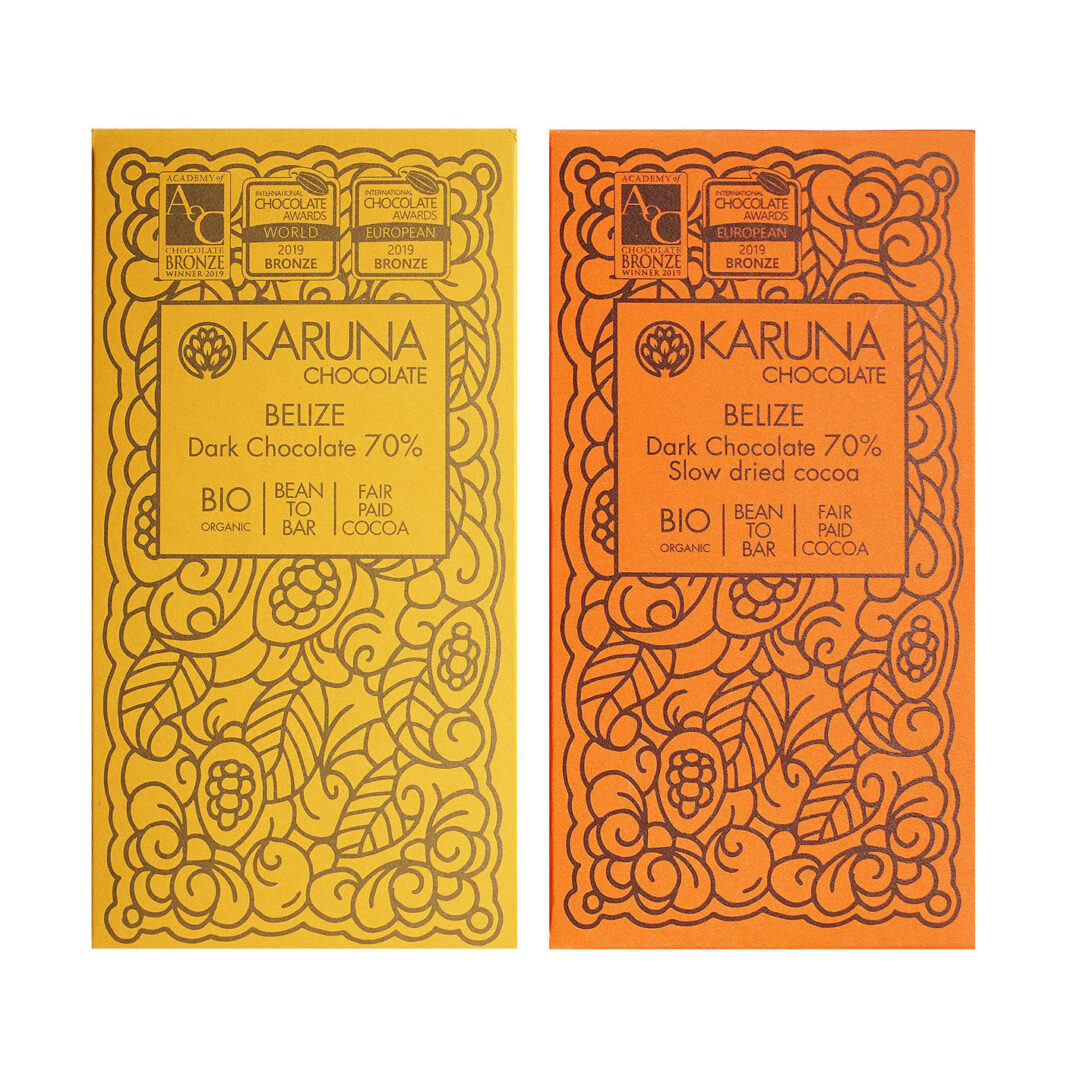
Karuna have created the perfect demonstration of the effect of drying, with these two (almost) identical bars. The only difference is the amount of time the beans spent drying!
The slow-dried bar is a lot less acidic, with notes of tobacco and an almost paper-like quality. On the other hand, the regular-dried bar enjoys and bright burst of orange, followed by some roasted nuts and a pleasant astringency.