How to Temper Chocolate
All you need to about tempering, and how you try it yourself at home!
Print / PDFAll you need to about tempering, and how you try it yourself at home!
Print / PDFWhat is Tempering?
By now, you’ve probably heard us talk about “temper”. You might have watched Great British Bake Off contestants struggling in vain to temper their chocolate creations. You might have wondered why your chocolate has turned white, and instead been taken down a rabbit hole of crystal structures.
But fear not, this quick guide will tell you all you need to know about tempering – even how to try it at home yourself!
Put simply, tempering chocolate is the process of raising and lowering chocolate’s temperature in order to manipulate its crystal structure.
The crystal structure of chocolate actually refers to the crystal structure of cocoa butter (the natural fat of the cocoa bean). It is this structure that can be manipulated.
Cocoa butter can take 6 possible crystal structures. Structure 5 is the most desired for chocolate as it gives the bar a good snap, shine, and melt (and therefore more flavours). Structure 4 is the most stable and therefore the one to which chocolate will return, but this crystal structure gives the chocolate a matte and soft finish with a poor melt.
How does Tempering work?
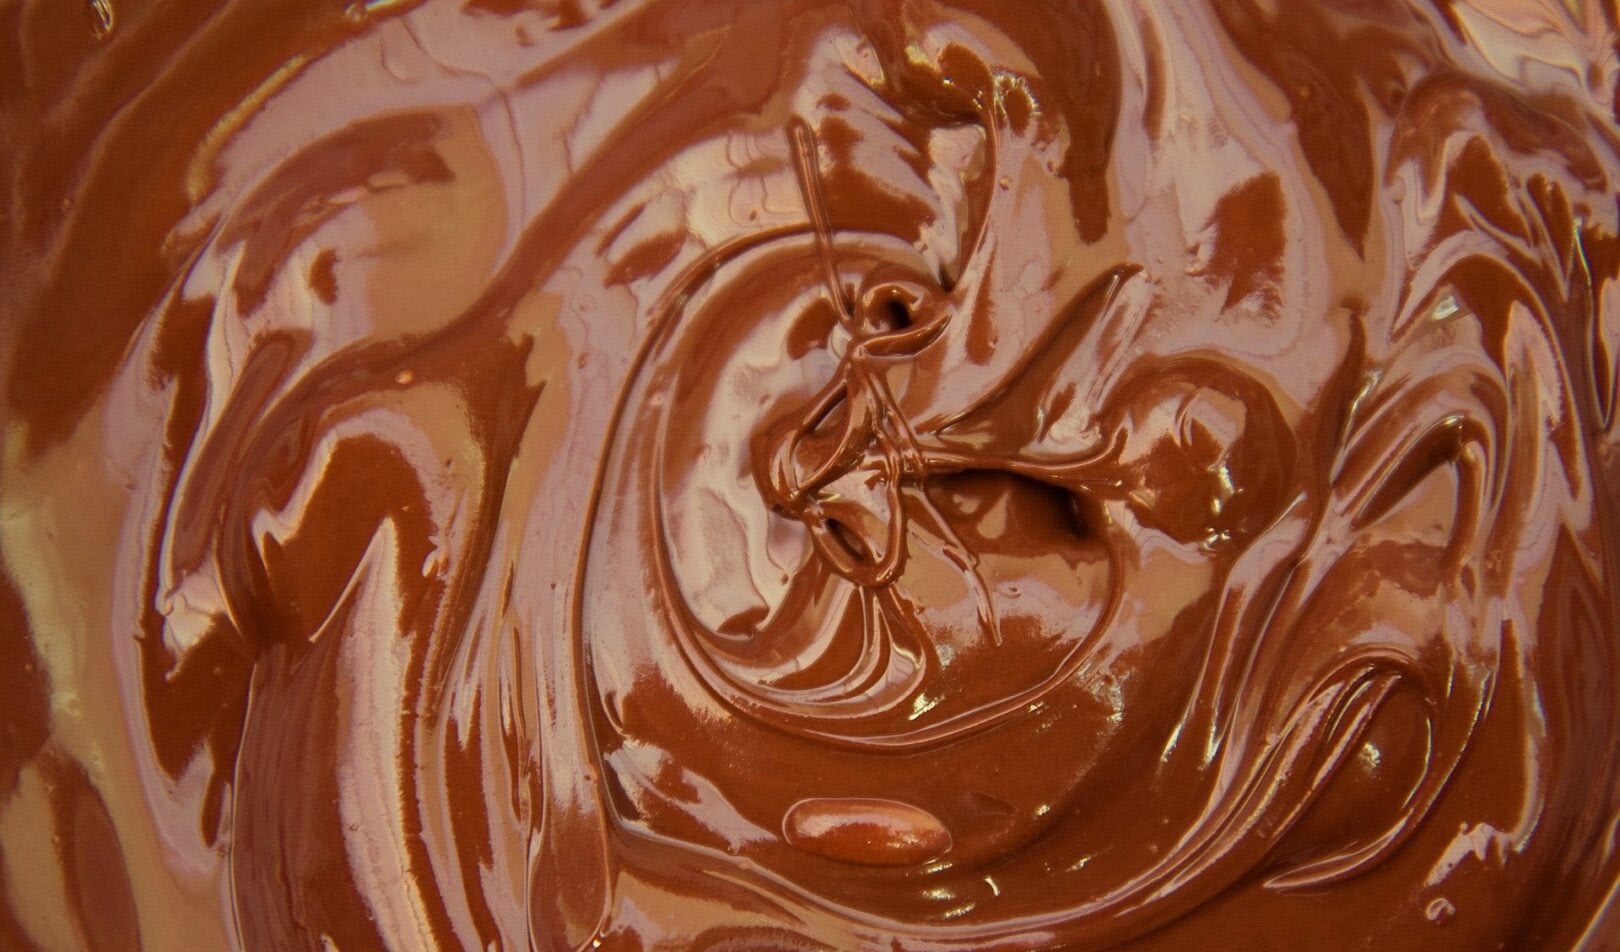
Tempering begins by melting the chocolate to completely remove the cocoa butter’s crystal structure. It’s kind of like a hard reset, which allows it to be reformed the way you wish based on the temperature at which you cool it.
After the initial melting, the chocolate is rapidly cooled with agitation (mixing it around) to rebuild the chocolate’s crystal structure.
The chocolate is then gently reheated to ensure that no crystals of structure 4 are formed (as these form at a slightly lower temperature than crystals of structure 5).
The temperatures to which you have to heat, cool, and then reheat the chocolate vary depending on the type of chocolate used. Dark chocolate has a lower cocoa butter content than white or milk chocolate, so the temperatures it requires are slightly higher than milk or white.
See below for the specific temperatures (in degrees Celsius):
- Dark chocolate: first melt = 46-47, cooling = 28, reheat = 30
- Milk chocolate: first melt = 43-47, cooling = 27, reheat = 29
- White chocolate: first melt = 41-43, cooling = 26, reheat = 28
How do I know if my chocolate is tempered?
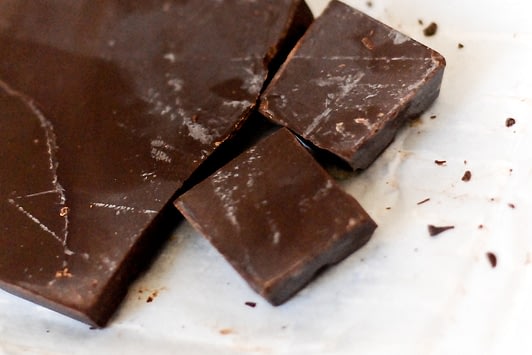
Chocolate is tempered to give it a strong and satisfying snappy texture as well as a nicely shiny finish. Therefore, the biggest indication that chocolate has not been properly tempered is a bar that has a matte and cloudy finish, and which does not snap cleanly when broken or bitten.
When chocolate loses its crystal structure after being left in the sun or placed in the fridge, it can ‘bloom’. This is when white streaks or bubbles appear on the bar’s surface.
Bloomed chocolate is still perfectly edible; it just won’t have the snap, shine, or melt of tempered chocolate. At this point, it can either be re-tempered or it can be used as baking chocolate.
Read more: What is chocolate bloom?
How to temper chocolate at home
Large commercial chocolate makers have the luxury of machines that can accurately and easily control temperature. At home, however, or for some of our smaller makers, the process is slightly trickier.
(An accurate thermometer will be required!)
1 – The tabling method
This method is preferred among pastry chefs and chocolatiers and is by far the most artistic. As such, it is slightly trickier to master than the seeding method but is an impressive (and photogenic!) skill.

The tabling method of tempering chocolate
The chocolate is melted using a bain-marie to the temperature necessary for the type of chocolate.
To cool the chocolate, two thirds of it is poured onto a marble slab and is repeatedly spread over and regathered on the cold surface using a chocolate scraper and palette knife. Once the chocolate has cooled and thickened slightly, it is regathered into the bowl with the remaining third of warmer chocolate.
If the chocolate is still too warm at this point, it is stirred until it cools. If the chocolate is too cool, however, it is re-warmed gently over the bain-marie. Ideally, the chocolate should sit at the final temperature required for tempering for a few minutes to allow the crystal structure to set.
2 – The seeding method
For the clumsy of hand or those without a marble slab just lying around, the seeding method might be the easier way to temper chocolate.
One third of the chocolate is finely chopped and left to one side. The remaining two thirds is melted to reach the initial temperature indicated by the graph.
Once the chocolate has reached this temperature, the remaining third of chopped, solid chocolate is added and stirred continuously until incorporated.
If the chocolate is still too warm at this point, it is stirred until it cools. If the chocolate is too cold, however, it is re-warmed gently over the bain-marie. Here, again, the chocolate is left at its ideal temperature for a few minutes to allow the crystal structure to set.